How to Soundproof a Floor
Table of Contents
Understanding How to Soundproof a Floor
If you’ve ever lived below a clumsy upstairs neighbor, you already know why soundproofing a floor matters. Whether it’s footsteps, rolling chairs, or the occasional dropped dumbbell, impact noise moves fast and loud. For architects, contractors, and developers, ignoring floor acoustics is an open invitation for noise complaints, bad reviews, and tenant turnover.
The good news? With smart design, you can soundproof a floor to perform far beyond code minimums. From lightweight retrofits to full floating assemblies, the principles are the same — control vibration, add mass, and stop flanking paths.
Assessing the Existing Floor Assembly
- Identify the structure: Joist framing, slab on grade, or post-tensioned concrete all respond differently.
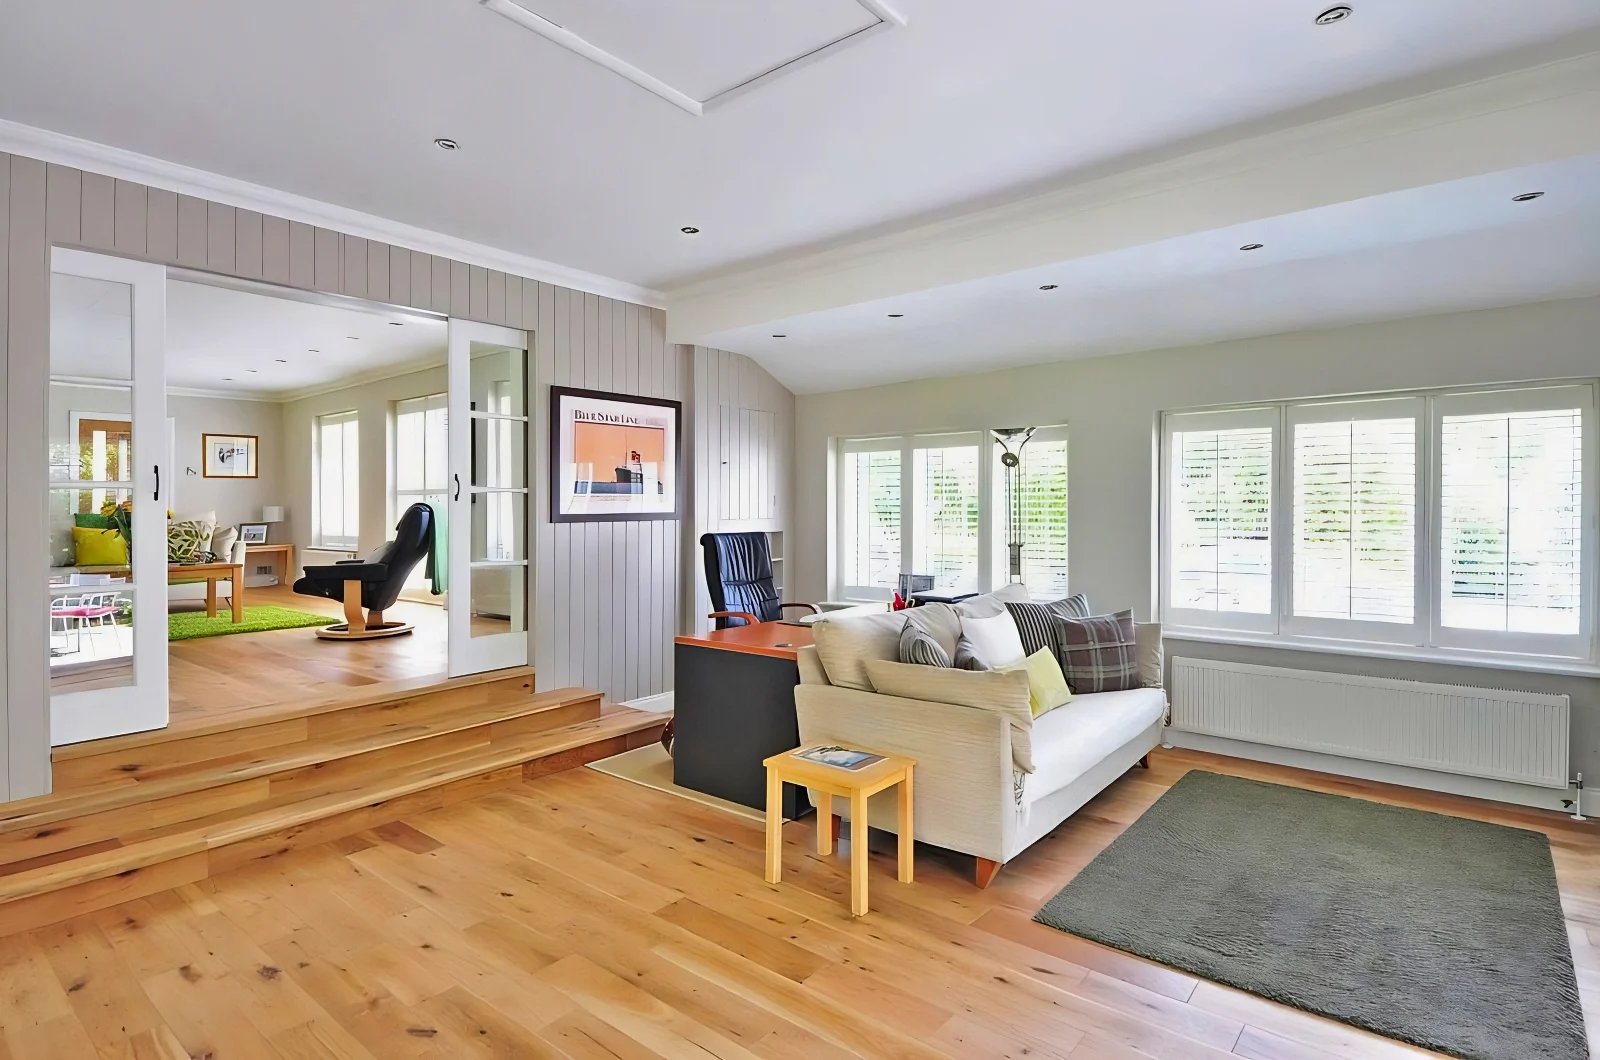
- Check finish materials: Hard surfaces like tile and laminate reflect noise; carpet and padding absorb it.
- Look for weak points: Penetrations, transitions, and gaps between floor and wall are common leaks.
Before you can soundproof a floor effectively, you need to know what you’re working with. A joist floor with hardwood behaves nothing like a concrete deck with vinyl. Document thicknesses, finishes, and penetrations. Even the smallest mechanical chase or unsealed gap can short-circuit your acoustic design. Think of this step as your blueprint for every decibel you’ll save later.
Understanding IIC & Floor Noise Types
- IIC measures impact noise: The higher the rating, the quieter the floor.
- STC addresses airborne noise: Useful for ceiling-to-ceiling privacy between units.
- Both matter for code compliance: Multifamily buildings usually target IIC 50–55.
When learning how to soundproof a floor, it’s vital to distinguish impact from airborne transmission. IIC ratings track how much vibration energy travels downward, while STC ratings measure speech and airborne sound. Modern codes set minimums, but for premium builds — luxury apartments, hotels, and offices — you’ll want higher ratings to match client expectations. Try our IIC Calculator to find your target IIC levels.
Quick Fixes for Floor Noise
- Use area rugs and pads: Simple, affordable impact reduction.
- Seal perimeter gaps: Acoustical caulk blocks airborne leaks.
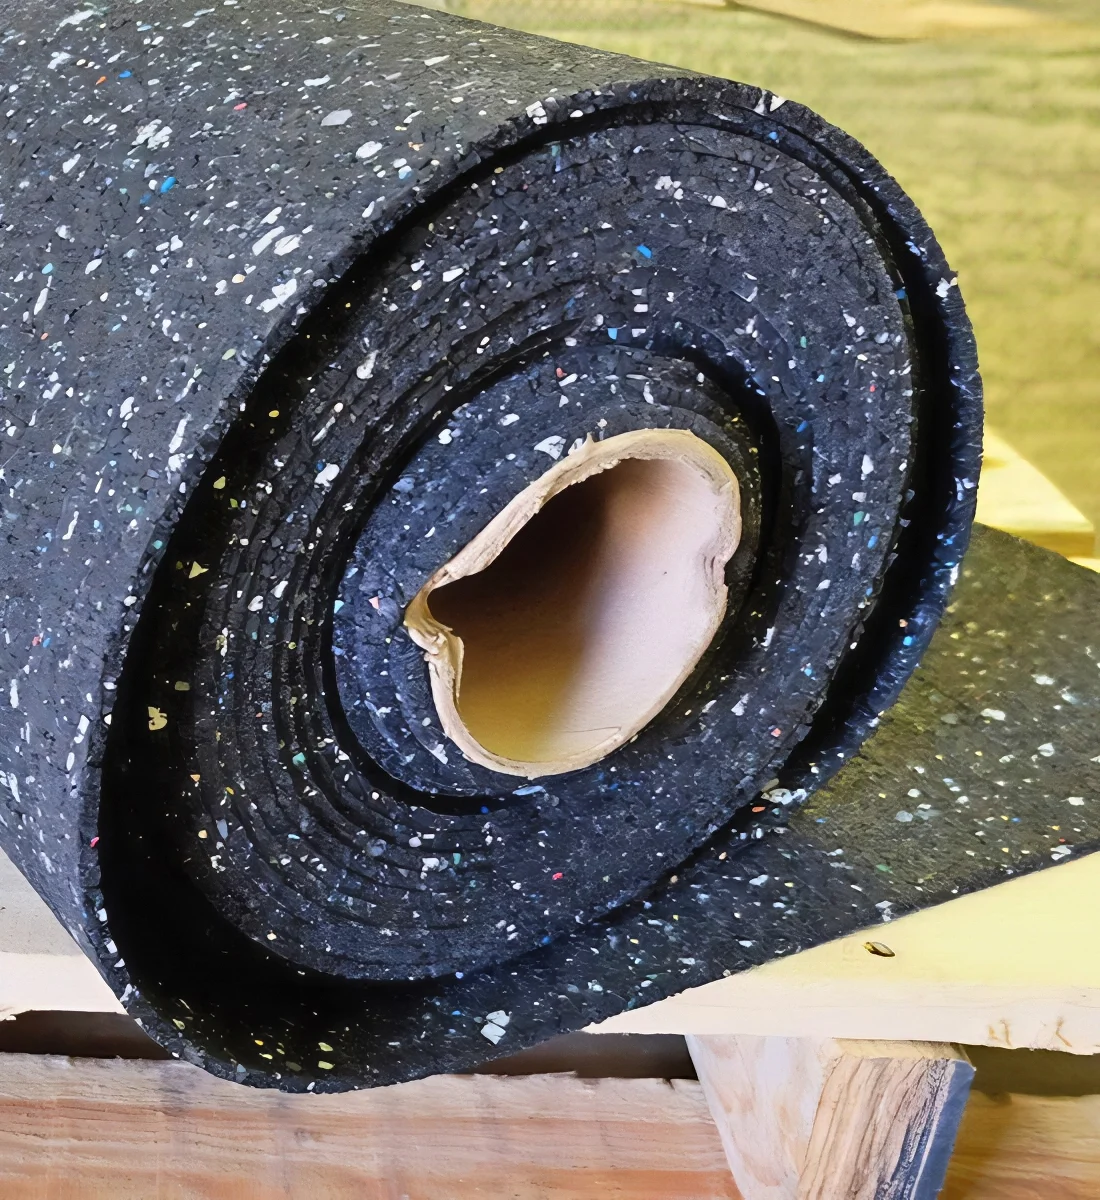
- Add acoustic underlayments: Thin rubber or felt layers reduce footfall vibration.
For existing buildings, sometimes the best approach is practical, not invasive. A few strategically placed rugs and a quality underlayment can cut perceived impact noise by 30–40%. Sealing expansion joints, floor-wall gaps, and duct penetrations also keeps noise from slipping through unnoticed. These small steps make a surprising difference — especially in older properties where full rebuilds aren’t possible.
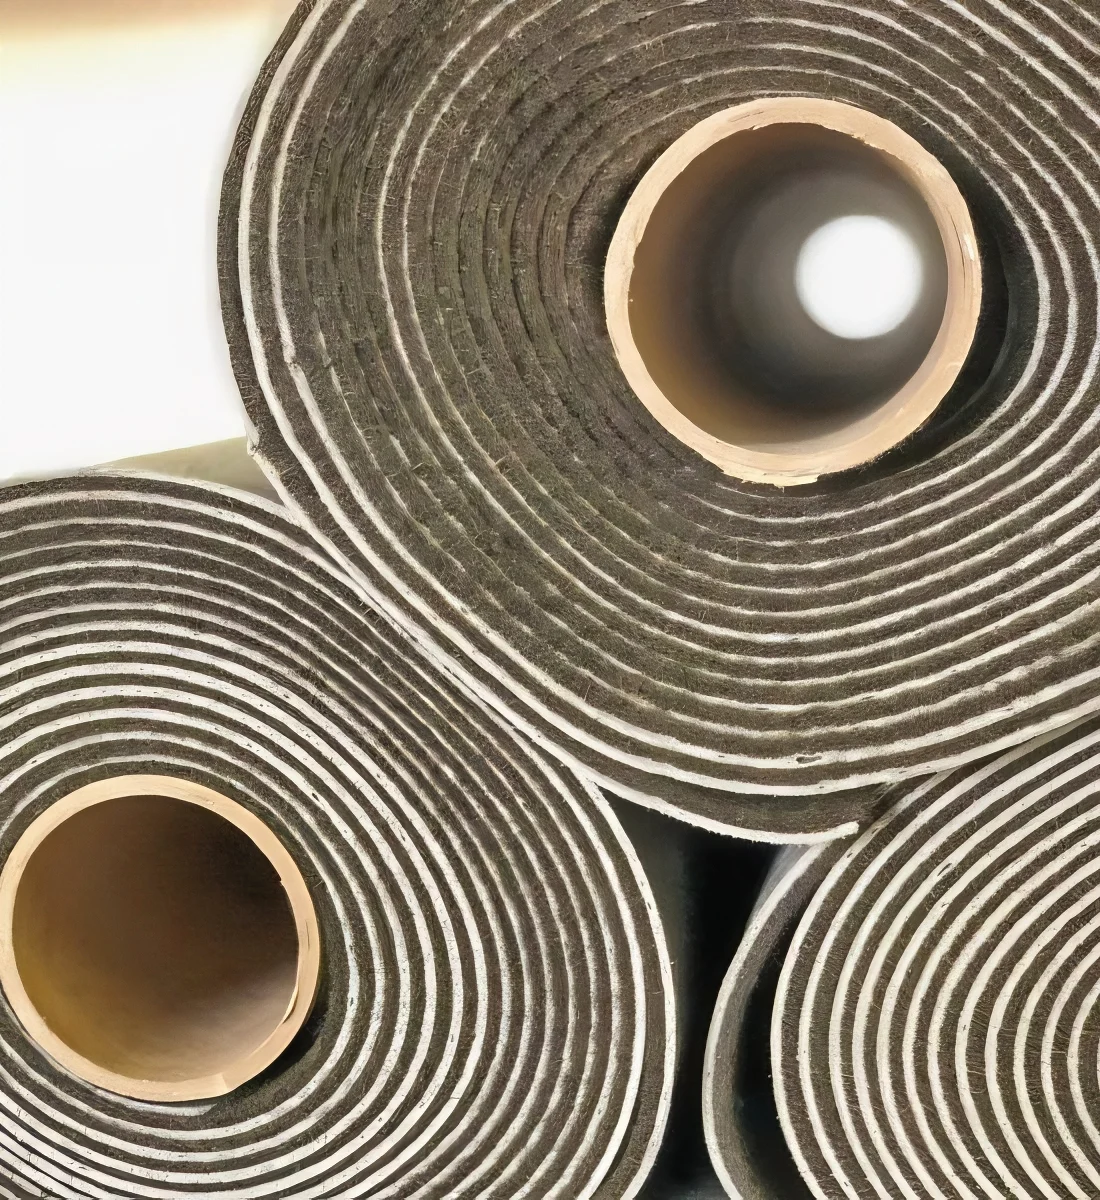
Mid-Level Retrofits — Underlayments & Decoupling
- Floating floors: Install subfloors separated by a resilient underlayment.
- Rubber or cork pads: Absorb vibration between subfloor and structure.
- Add MLV (mass-loaded vinyl): Increases floor density and blocks low frequencies.
At this stage, you’re beyond rugs and caulk — you’re upgrading performance. Floating floors and resilient layers prevent vibration from transferring directly through joists or slabs. Adding mass-loaded vinyl (MLV) under flooring or beneath drywall ceilings increases overall mass, stopping airborne leaks. These systems are popular in commercial retrofits because they fit within limited floor height while delivering measurable IIC gains.
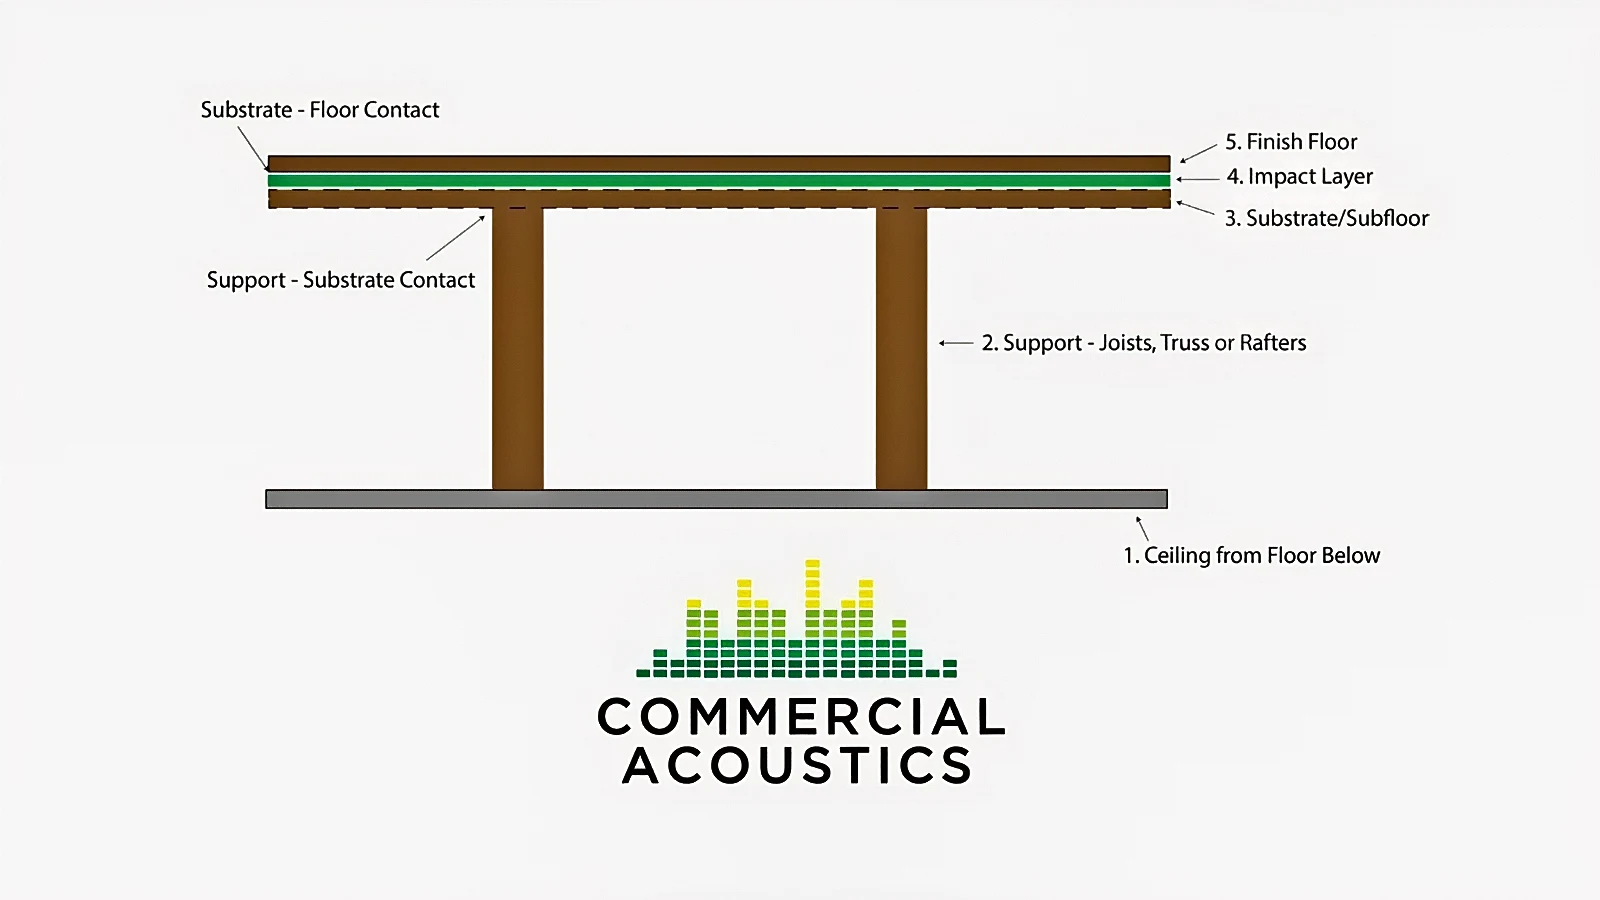
Full Build Solutions — Floor & Ceiling Assemblies
- Resilient channels or clips: Isolate ceiling drywall from structure below.
- Double-layer systems: Add acoustic mat + subfloor + MLV + drywall for maximum mass.
- Flanking control: Treat perimeter edges, penetrations, and recessed lights.
For new construction or major renovations, full isolation assemblies deliver top-tier results. By decoupling both the floor and ceiling, you attack noise transmission from both sides. A well-engineered floor/ceiling system with resilient mounts can achieve IIC 65+ in lab conditions — the gold standard when you need to soundproof a floor in multifamily or hospitality projects.
Cost, ROI & Performance Expectations
- Basic fixes: $2–4 per sq ft | Up to 6 IIC gain | Rugs + sealant + pad.
- Mid-level retrofits: $5–8 per sq ft | 8–12 IIC gain | Underlayments + MLV.
- Full floating assemblies: $10–15 per sq ft | 15 + IIC gain | New construction + isolation.
Every floor has a budget, and ROI depends on end-use. In hospitality and multifamily settings, even modest noise improvements drive tenant satisfaction and occupancy rates. High-end assemblies cost more, but they reduce call-backs, complaints, and lost reputation. A single lawsuit over noise can cost more than properly soundproofing a floor during construction — so it’s money well spent.
Measurement & Verification
- Use an IIC test or sound meter app: Record before-and-after data.
- Target 10–15 dB reduction: Equivalent to cutting perceived noise roughly in half.
- Document the results: Helps validate acoustic design and ROI.
When you measure, you prove performance. Showing that you cut vibration energy in half isn’t just good bragging rights — it’s documentation that builds trust with clients. Knowing how to soundproof a floor is one thing; proving it with measurable data is what separates professionals from guesswork.
Common Floor Soundproofing Mistakes
- Skipping underlayment: Direct floor-to-joist contact destroys isolation.
- Leaving flanking paths: Noise travels through walls, pipes, and HVAC runs.
- Using rigid foam: Great for thermal use but terrible acoustically.
Most failed projects share the same flaws — someone ignored underlayment, skipped sealing, or used the wrong insulation type. Real acoustic performance, especially when you soundproof a floor, comes down to detail, not overbuilding. One unsealed gap or loose panel can undo an entire system’s effort.
Conclusion: Building Quieter Spaces from the Ground Up
Soundproofing a floor isn’t about guesswork; it’s about balance — mass, isolation, and airtightness working together. Each layer of your assembly plays a role in stopping vibration and controlling sound before it spreads.
Whether you’re designing high-rise apartments or retrofitting office space, paying attention to your floor assembly early saves time, budget, and headaches later. At Commercial Acoustics, we engineer tested systems that meet IIC and STC targets across every building type — because quiet floors make for happy tenants and lasting value.
Ready to discuss your project? Contact Commercial Acoustics today to design your next sound-controlled floor system.
FAQs: Soundproofing Floors
How do you soundproof an existing floor?
Add a rubber or cork underlayment beneath the flooring, seal all edges with acoustic caulk, and insulate the cavity below. These quick upgrades can raise IIC ratings without tearing up the floor.
How can I soundproof my floor cheaply?
Use thick rugs or acoustic mats in busy areas and add a thin sound pad under vinyl or laminate — simple, low-cost ways to soundproof a floor and cut impact noise.
How to reduce noise from upstairs floors?
Install a floating floor with a resilient underlayment or add isolation clips to the ceiling below. Treating both sides delivers the best noise reduction.
How to cheaply sound proof?
Seal gaps, use rugs, and lay down rubber or foam mats — simple ways to soundproof a floor on a budget.
Can Commercial Acoustics help with floor soundproofing?
Absolutely. We design and install tested systems that meet IIC and STC goals for any project — helping you soundproof a floor that performs and lasts.