Armature Works – A Soundproofing Retrofit Case Study

Soundproofing Armature Works

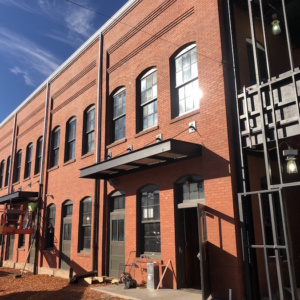
Armature Works is a completely restored, mixed-use building in the historic Tampa Heights neighborhood along the Hillsborough River. Opening late 2017, the space will feature eateries, a public market, event spaces, and co-working space.

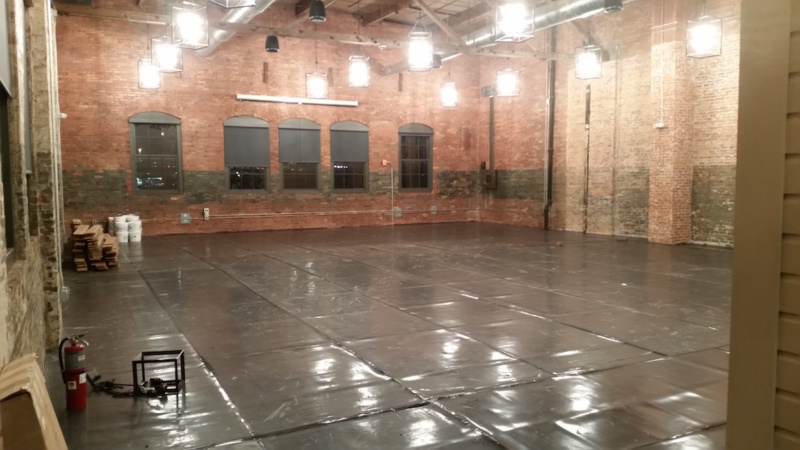
An event space on the second level of the building that was already open for use was experiencing noise disturbances coming from the bottom floor. Sound from the kitchen and other facilities below was causing noise complaints during events, decreasing guest satisfaction.

Armature Works came to Commercial Acoustics for a solution to this noise problem. We chose to use Floor Blokker, an effective method for blocking noise coming through the floor. This product reduces airborne and impact noise by 75%, ideal for reducing sound coming from downstairs. This will also prevent noise and footfall from events in this space from disturbing the bottom floor.

Installation of Soundproofing Membrane In Event Space

We installed the product by first laying down a level of adhesive underneath the Floor Blokker, then another layer of adhesive, followed by a layer of EVA. Hard wood flooring was then laid down on top. These layers effectively trap and stop noise from traveling between floors.

If your business is facing similar noise disturbances as Armature Works, read here for floor soundproofing tips.

See our installation process through the photos below.
acoustic caulking
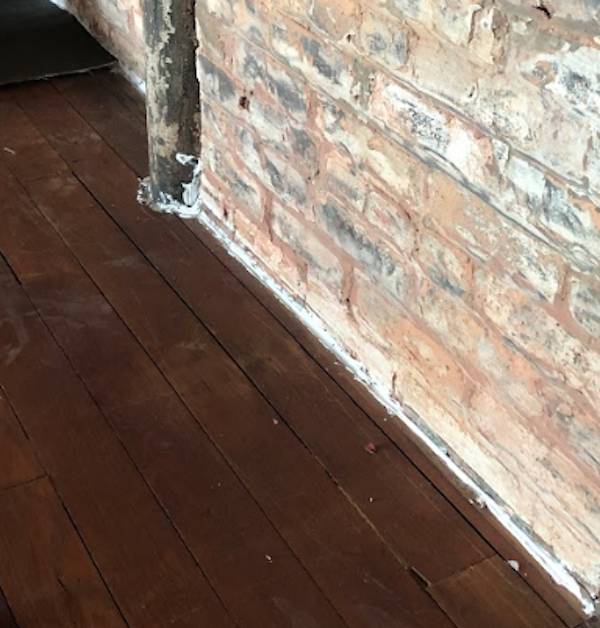
Step 1: We sealed off of the initial wood flooring perimeter with acoustic caulk to minimize flanking issues.
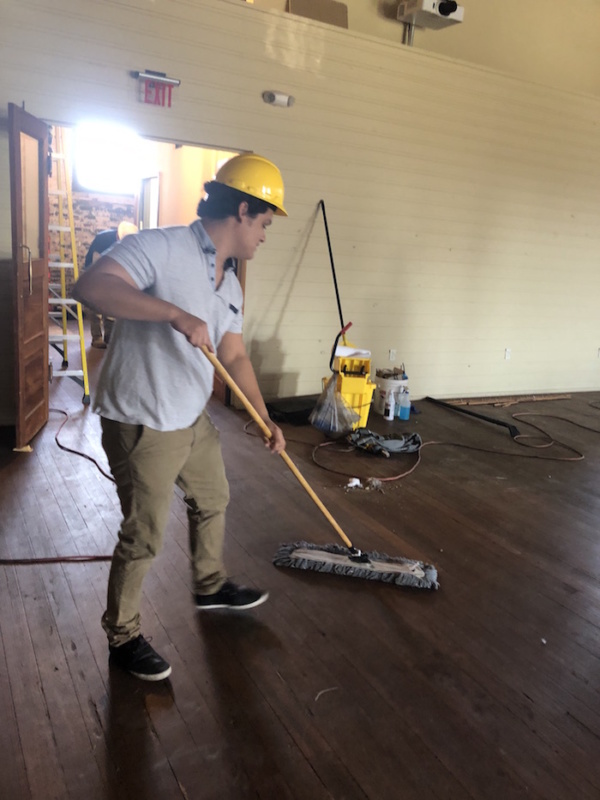
Cleaning Floor Armature Works
Make sure to clean the surface completely before spraying adhesive in order to prevent particles from getting stuck between the floor and Floor Blokker.
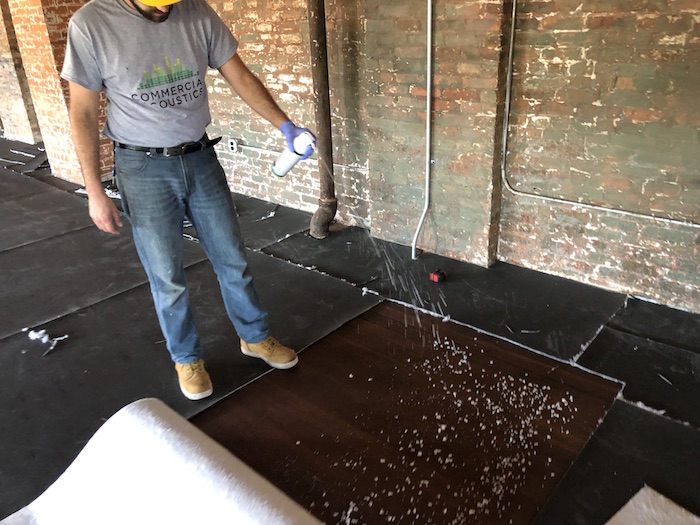
Spraying Adhesive Armature Works
Next, adhesive is sprayed on the floor to adhere the Floor Blokker down.
Adhesive Armature Works
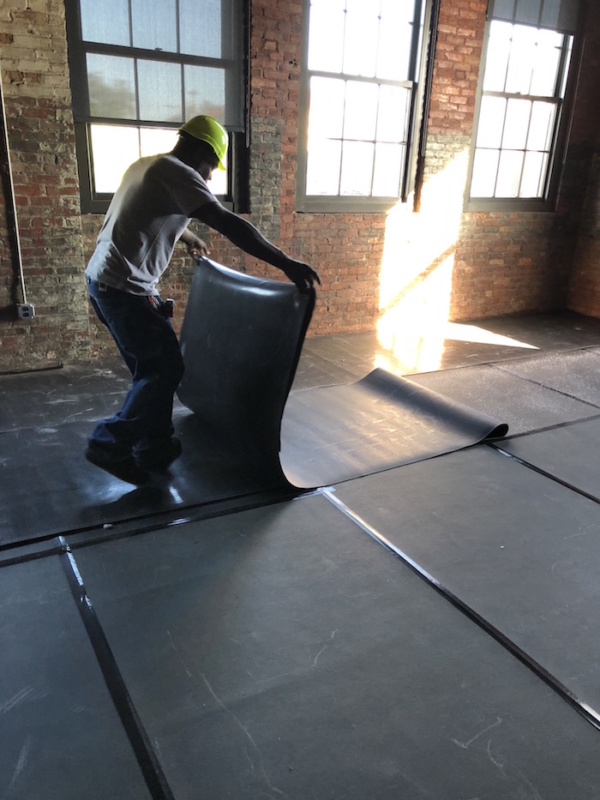
Now that the adhesive is on the floor, Floor Blokker is ready to be installed.
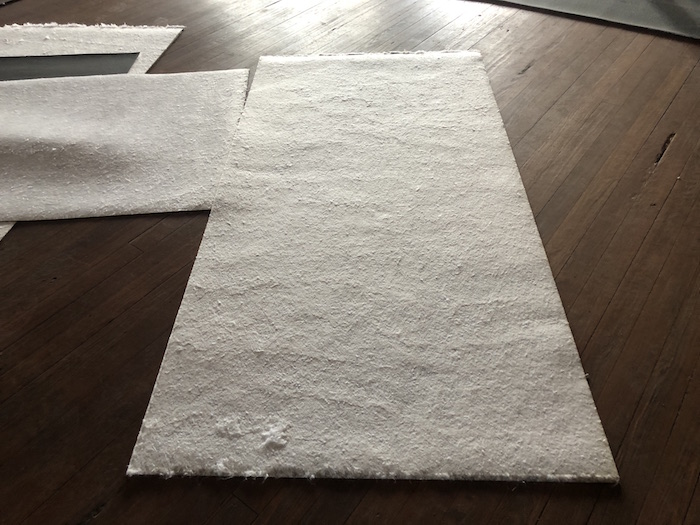
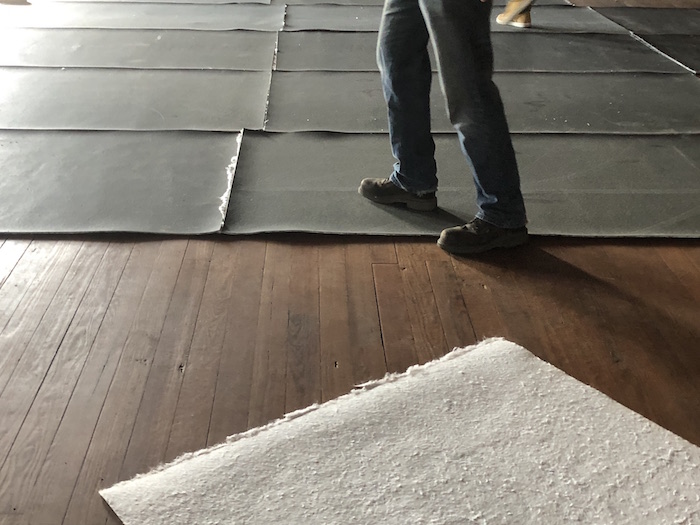
Face Down Layer FloorBlokker Armature Works
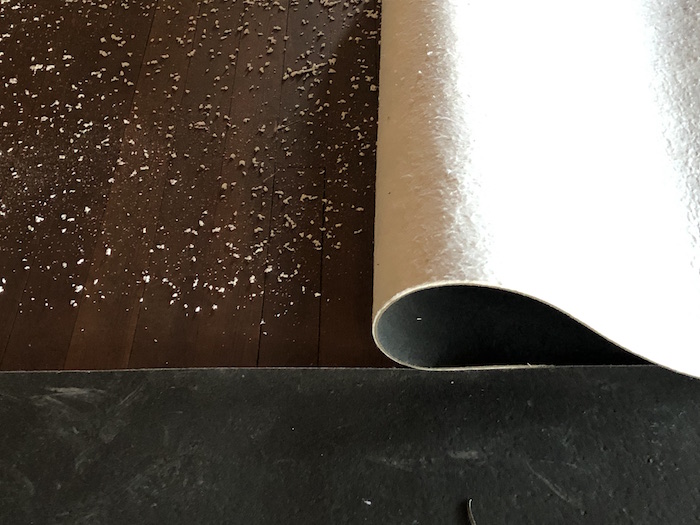
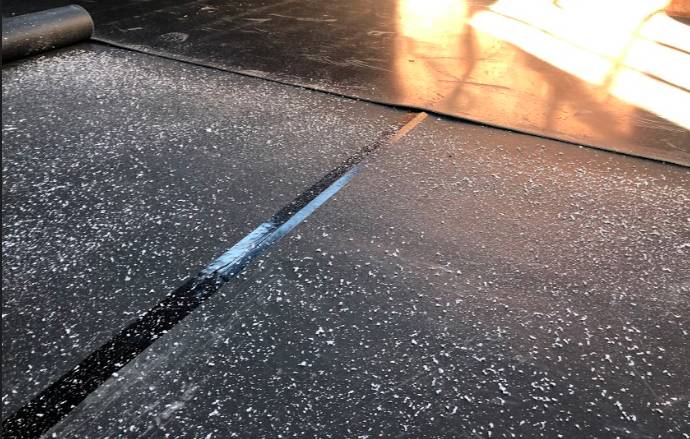
The white layer of Floor Blokker is scrim, which works to absorb structure-borne noise. This side is installed face down.
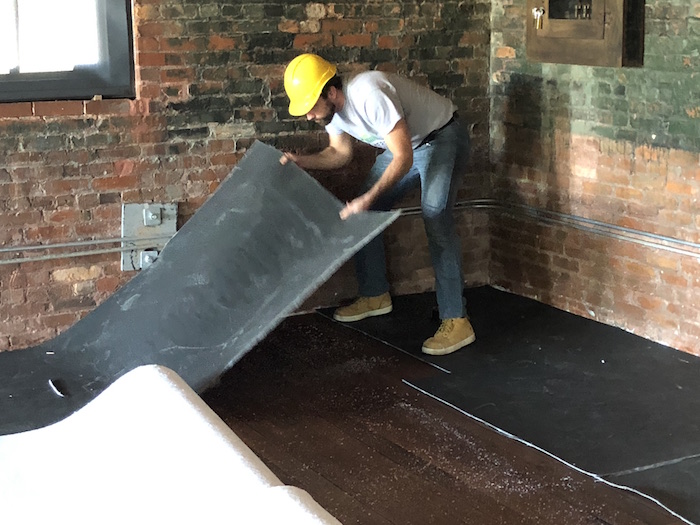
FloorBlokker Armature Works
The black side of Floor Blokker works to block noise and is installed face up.
Contrast FloorBlokker Sides Armature Works
Notice the difference between the white and black layer of Floor Blokker.
FloorBlokker Installation Armature Works
Floor Blokker is now ready to be installed and is laid down over the adhesive.
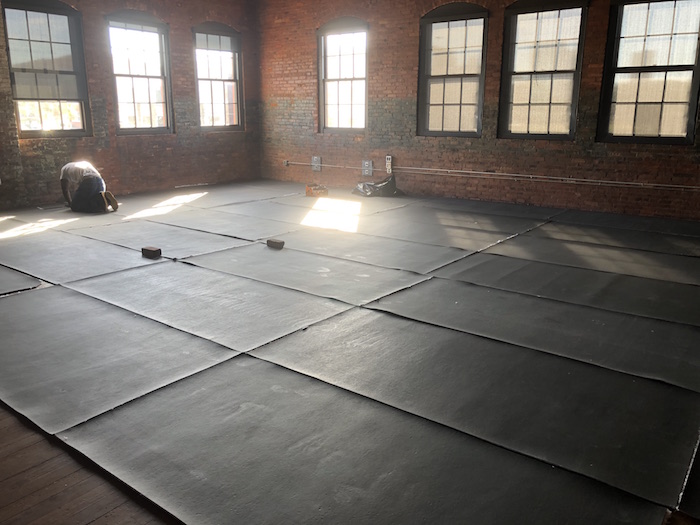
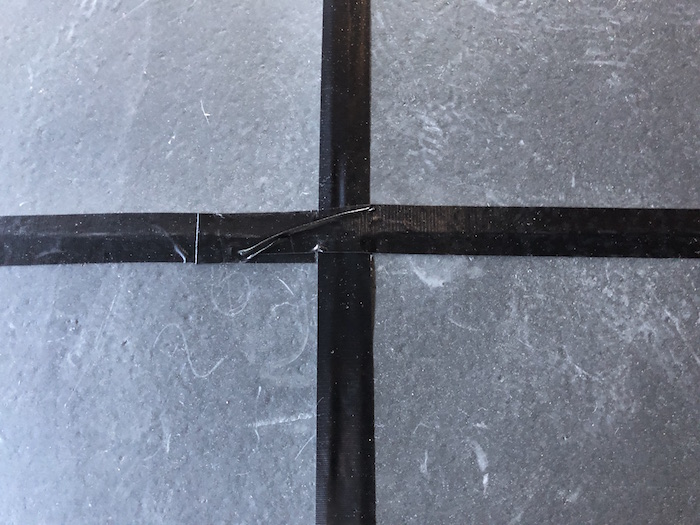
Tape Down FloorBlokker Armature Works
After the Floor Blokker is installed, it must be taped down.
soundproofing underlayment
Next, another layer of adhesive must be sprayed over the Floor Blokker before the second layer of EVA is laid down.
EVA Installation Armature Works
The second EVA layer is now ready to be installed over the Floor Blokker and adhesive.
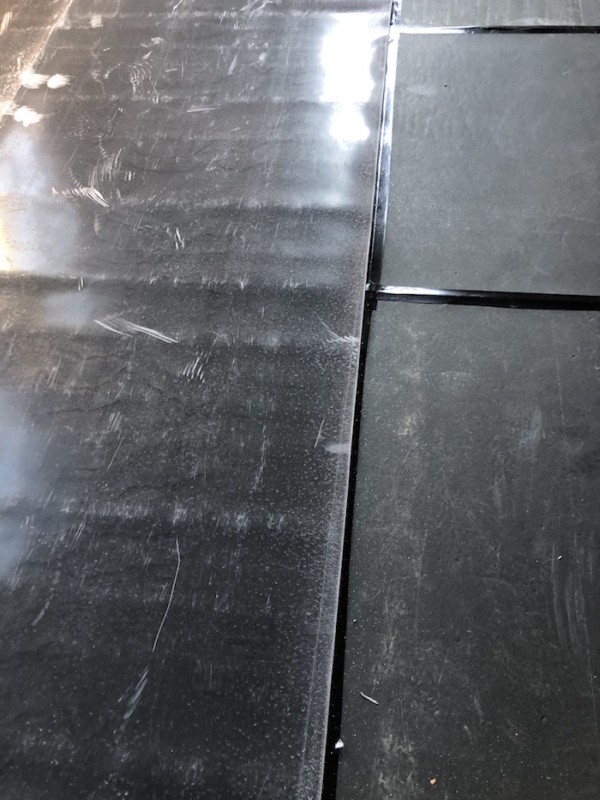
FloorBlokker EVA Contrast Armature Works
Notice how the EVA layer is shinier and glossier than the Floor Blokker.
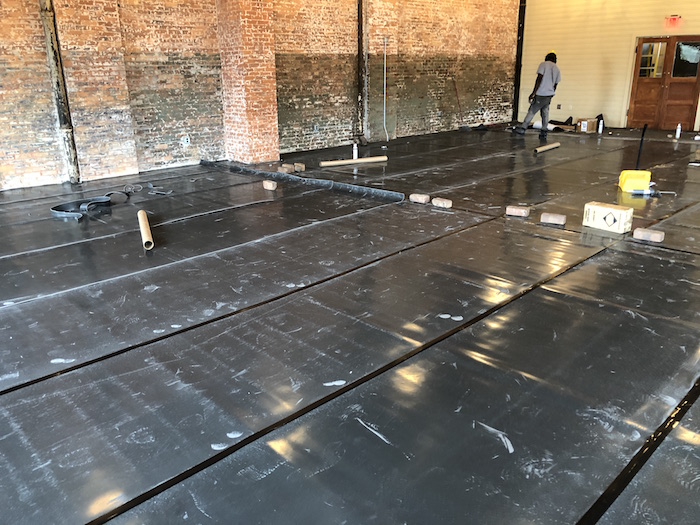
Tape Down EVA Armature Works
The EVA layer must also be taped down after installation.
Final Armature Works
The Floor Blokker installation is now complete. The hardwood flooring, which can be seen in the background of this photo, is now ready to be laid down.

Remember that, when soundproofing existing hardwood floors, you can apply STC-rated soundproofing membranes to the existing floor, then float a new floor on the completed assembly. This approach worked to great affect at Armature Works, allowing the client an event space with sufficient sound attenuation, while still maintaining a rustic, original aesthetic on the floor above.
Summary
Armature Works - Case Study
Article Name
Armature Works - Case Study
Description
Using Wall Blokker and Floor Blokker to soundproof an existing hardwood floor
Author
Publisher Name
Commercial Acoustics
Publisher Logo